USB Desktop Mic Setup: Cleaner Voice for Stream & Calls
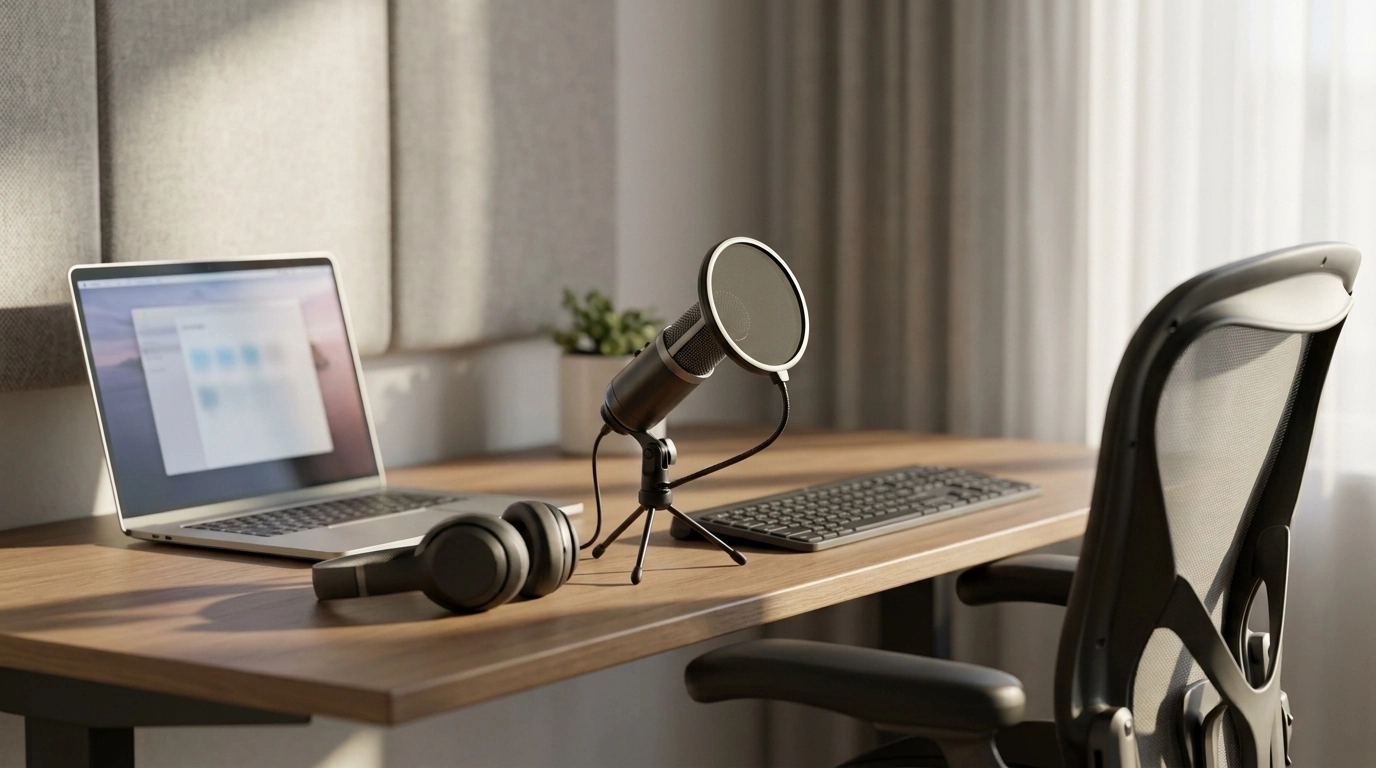
USB Desktop Microphone for Podcasting, Streaming, Recording & Online Meetings
Clear voice audio changes how a stream feels, how a podcast holds attention, and how professional a call sounds. A USB desktop microphone keeps the setup simple—plug it in, choose it as your input device, and start talking—while still delivering a fuller, more focused voice than most built-in laptop mics. Below are practical pointers on what to prioritize, how to dial in settings quickly, and how to get consistent results for streaming, recording, and everyday meetings.
Who a USB desktop microphone is best for
- Podcasters who record solo voice at a desk and want less room echo and more presence.
- Streamers who need stable, repeatable sound day to day without an audio interface.
- Remote workers who want better speech clarity and fewer “can you repeat that?” moments.
- Students and teachers recording lessons, presentations, or voiceovers.
What matters most for voice quality at a desk
- Pickup pattern: Cardioid-style capture helps prioritize the speaker and reduce keyboard/fan noise from behind the mic. If your mic has selectable patterns, cardioid is the usual “default win” for one-person use.
- Distance and angle: Around 4–8 inches from your mouth, slightly off-axis (aimed toward the corner of your mouth rather than directly in front), often reduces plosives while keeping clarity. Good technique also reduces the need for heavy processing later. For more on distance and plosive control, see Shure’s guidance on microphone technique.
- Gain control and monitoring: Easy level control prevents clipping; headphone monitoring helps you catch popping, hiss, or accidental input changes before they ruin a session.
- Noise handling: Consistent mic placement plus basic room management typically beats aggressive software noise reduction, which can introduce warble or “underwater” artifacts.
Quick setup checklist for streaming, recording, and meetings
- Connect via USB, then select the microphone as the input device in system settings and inside the app (Zoom/Teams/Discord/OBS/DAW).
- Set input level: speak at normal volume and adjust gain so peaks stay comfortably below clipping. If you’re on Windows and the mic isn’t behaving as expected, Microsoft’s steps to fix microphone problems in Windows can help you verify the basics.
- Control plosives: Use a pop filter or speak slightly to the side of the capsule to soften “P” and “B” sounds.
- Enable direct monitoring if available, and keep headphone volume moderate to avoid bleed into the mic.
- Run a 10–15 second test recording before sessions to confirm levels and background noise. If you’re recording a podcast, Audacity’s documentation on recording and playback basics is a helpful starting point for confirming input selection and clean takes.
Suggested settings for common apps
- Streaming (OBS): Keep mic gain modest; add a limiter to prevent sudden peaks; use a gentle noise gate only if the room is reasonably quiet.
- Podcast recording (Audacity/DAW): Record clean with minimal processing; apply compression/EQ afterward for a controlled, natural sound.
- Online meetings (Zoom/Teams): Disable aggressive auto-processing if it causes artifacts; prefer “original sound” style options when available.
| Use case | Mic distance | Target level | Notes |
|---|---|---|---|
| Online meetings | 6–10 in | Clear speech, no clipping | Avoid over-gating; prioritize intelligibility over “studio” sound |
| Streaming | 4–8 in | Consistent loudness | Limiter on; light compression if needed |
| Podcast/voiceover | 4–6 in | Healthy headroom | Record dry; process later (EQ/compression/de-ess) |
Placement tips to reduce room echo and desk noise
- Decouple from the desk when possible: If your desk transmits vibrations, even small changes—moving the stand, adding a pad, or placing the mic on a more stable surface—can reduce thumps.
- Point away from noise: Aim the microphone away from PC fans, windows, or HVAC. With cardioid mics, keep the “back” of the mic oriented toward the noisiest source.
- Soften reflections: A rug, curtains, or a fabric backdrop near the desk can noticeably reduce flutter echo and the “hollow room” sound.
- Reduce keyboard pickup at the source: Place the keyboard slightly farther away and lower gain rather than expecting noise reduction to do all the work.
Using the microphone for different workflows
Common problems and fast fixes
Featured picks to support a smoother setup
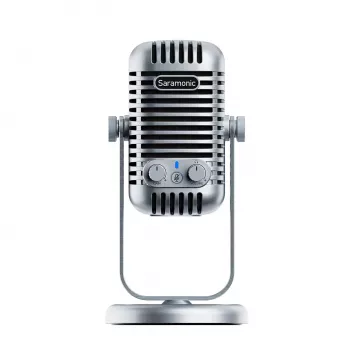
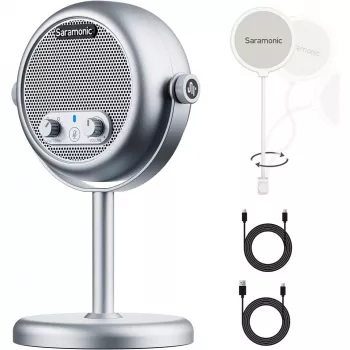
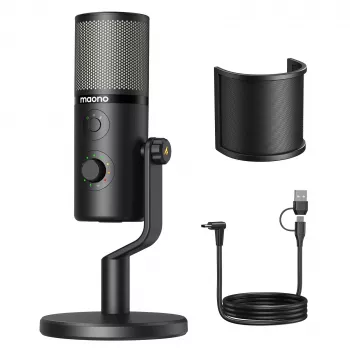
- USB Desktop Microphone for Podcasting, Streaming, Recording & Online Meetings — A desk-friendly USB solution built for voice-focused use across streaming, recording, and video calls. For the best results, keep placement consistent, use conservative gain settings, and do a short test recording before going live.
- Study Skills Mastery Guide | Digital Study Guide, Learning Strategies eBook, Focus Tips, Study Methods, Memory Techniques, Study Checklist PDF — Helpful for students and educators building a repeatable routine for recorded presentations, lectures, and study sessions where clear narration matters.
- Calm Your Mind: Guided Meditation Series | Audio Course | Anxiety Relief Meditation — Useful when you want steadier on-mic delivery before meetings, interviews, or long recording blocks.
Care and longevity
FAQ
Is a USB desktop microphone better than a headset mic for meetings?
Usually yes for voice clarity and fullness, especially when positioned close to the mouth. Headset mics can work well, but quality varies widely and many sound thinner than a properly placed desktop mic.
How far should a desktop microphone be from the mouth?
A common starting point is 4–8 inches for streaming/recording and 6–10 inches for meetings. Adjust slightly off-axis to reduce plosives while keeping your levels comfortably below clipping.
Do you need special software to use a USB microphone?
No—most USB microphones are plug-and-play in Windows and macOS. Optional software or app filters can help with leveling and noise control, but placement and gain settings typically make the biggest difference.













Leave a comment