Connect a USB Condenser Mic: Setup, Levels & Fixes
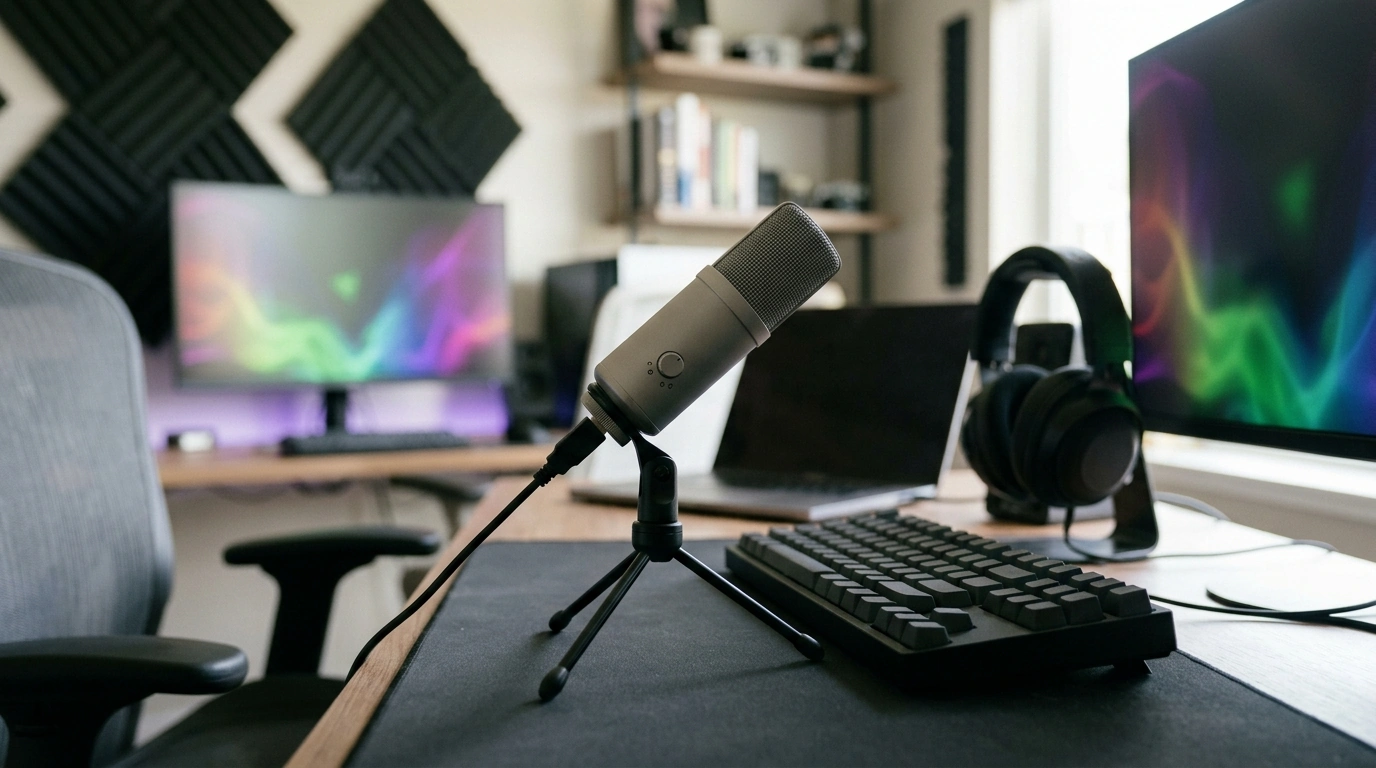
How to connect USB condenser microphone?
Connecting a USB condenser microphone is usually plug-and-play, but a few quick checks make the difference between clean audio and frustrating silence. Start by placing the mic on a stable stand, then connect the included USB cable directly to a USB port on your computer (avoid unpowered hubs if possible). If your microphone has a gain knob or mute button, set gain low at first and make sure it isn’t muted.
1) Connect and select the mic as your input
On Windows, go to Settings > System > Sound, then choose the microphone under “Input.” On macOS, open System Settings > Sound > Input and select the USB mic. Talk into the mic and watch the input level meter to confirm it’s receiving signal.
2) Set a practical input level
Raise mic gain gradually while speaking at your normal volume. Aim for a strong signal without clipping (distortion). If your mic includes a headphone jack for monitoring, plug in headphones and adjust the headphone volume separately so you can hear yourself clearly without echo.
3) Configure your app (Zoom, Discord, OBS, DAW)
Most apps have their own audio device setting. Open the app’s audio preferences and choose the same USB mic as the input device. If your voice sounds delayed, turn off software monitoring in the app and use direct monitoring from the mic (if available).
4) Quick troubleshooting
If the mic isn’t detected, try a different USB port, swap the cable, and restart the app or computer. If audio is faint, increase input level in your system settings and confirm the mic is set as the default input. For mics with pattern switches, select Cardioid for a typical single-speaker setup.
For a deeper walkthrough on controls like pickup patterns, gain, and monitoring, see the full guide here: https://gertrudo.com/guide-3-pattern-usb-condenser-mic-gaming-streaming-podcasting/.
FAQ
Why is my USB microphone not picking up sound?
Confirm the USB mic is selected as the input in both your system sound settings and the specific app you’re using. Try a different USB port/cable and make sure the mic isn’t muted or set to an extremely low gain.













Leave a comment