Heavy Battle Rope Sleeve & Anchor: Setup, Workouts, Care
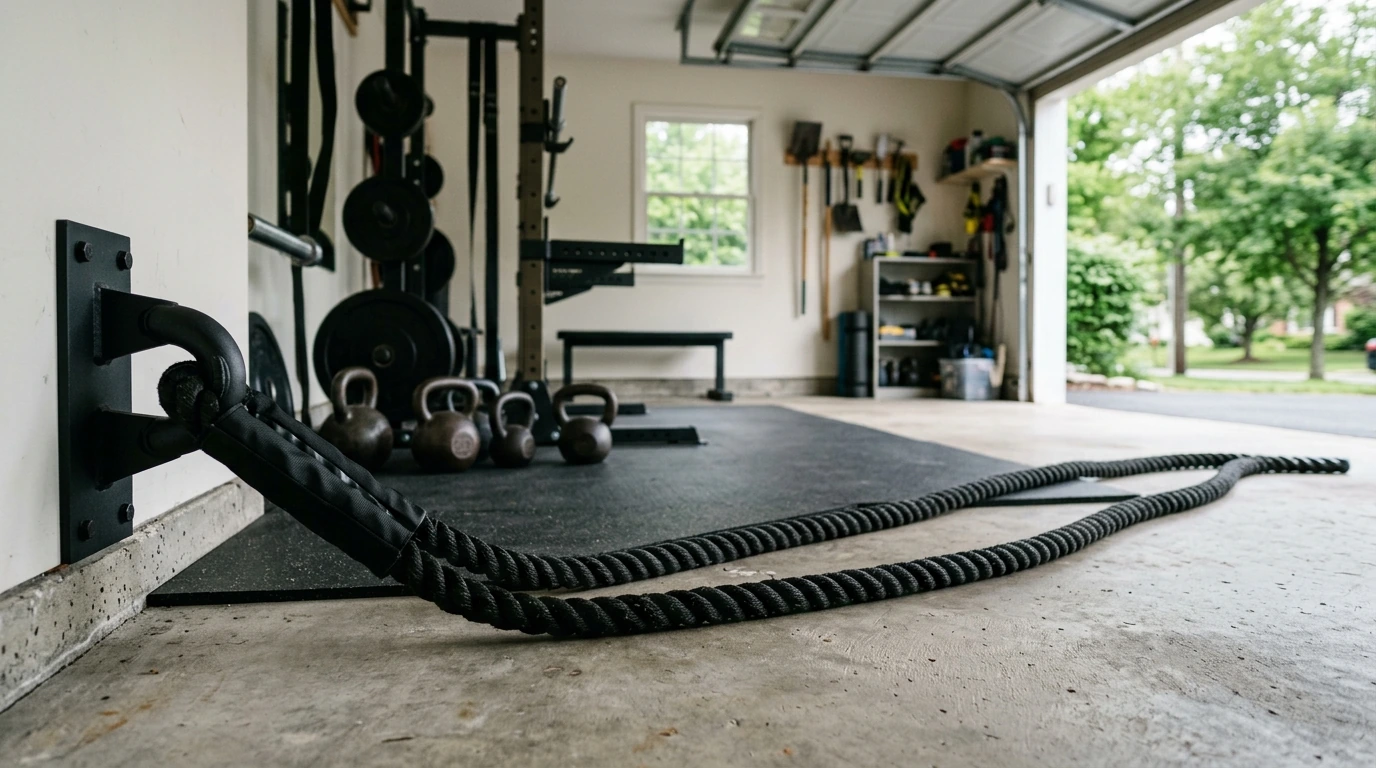
Heavy Battle Rope with Protective Sleeve & Anchor: Setup, Training, and Care
A battle rope delivers high-output, full-body conditioning in a small footprint—ideal for garages, driveways, and compact gym spaces. When a rope includes a protective sleeve and a dedicated anchor, setup gets more secure and the rope tends to last longer under repeated waves and slams. Below is a practical guide to what each component does, how to install it safely, workouts for different goals, and simple care steps that help the rope move smoothly session after session.
What’s Included and What Each Part Does
Heavy battle rope
A heavy rope is built for high-tension alternating waves, double waves, slams, and pulls. Those patterns challenge grip, shoulders, upper back, core, and legs—especially when you keep consistent tension and crisp rep quality.
Protective sleeve
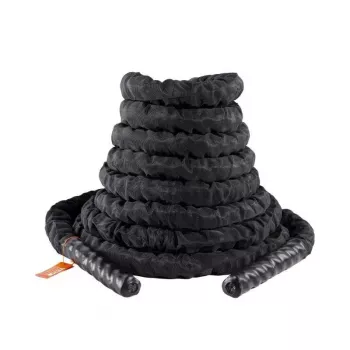
The sleeve shields rope fibers from abrasion at the primary contact point (typically the anchor or a hard edge). By reducing friction and scraping, it helps slow fraying and extends usable life—especially on rough surfaces like concrete.
Anchor
The anchor creates a stable midpoint so you can train in more locations: a gym rig, a sturdy post, a rack, or a properly rated wall/floor mount. A stable anchor also improves wave consistency, making intervals easier to pace and progress.
Why the combination matters
A secure anchor keeps your rope centered and predictable, while the sleeve reduces wear where the rope repeatedly rubs. Together, they help you train harder without constantly fighting slipping hardware or premature rope damage.
Quick Setup: Anchor Placement and Safety Checks
1) Choose a fixed structure rated for dynamic loads
Use a rack, pole, heavy post, or a wall/floor mount specifically rated to handle dynamic pulling and whipping forces—not just static hanging weight. If there’s any wobble, reinforce or choose another point.
2) Set rope length and your working distance
Stand far enough back so the rope stays under tension at the bottom of each wave. Stepping farther away increases difficulty by adding tension; stepping closer lowers demand and is helpful for beginners refining technique.
3) Protect the contact point with the sleeve
Position the sleeve where the rope meets the anchor or where it passes over an edge. If you notice the wear spot shifting over time, slide the sleeve so it continues to protect the highest-friction area.
4) Do quick safety checks before every session
Confirm the anchor is tight and not rotating, the rope ends are secure, and the training lane is clear of people, pets, and breakable items. Battle rope waves travel farther than you expect when fatigue hits.
5) Surface considerations
Concrete and rough asphalt can chew up fibers during high-volume training. Keep the sleeve at the abrasion point and consider placing a mat under the contact area if you do frequent slams. For broader activity guidance and weekly volume targets, the Physical Activity Guidelines for Americans are a solid reference.
Technique Cues That Make Training Feel Better
Neutral spine and braced core
Keep ribs down and brace as if preparing for a light punch to the midsection. This reduces unwanted low-back extension during hard slams and helps power transfer from hips to hands.
Shoulders down and back
Avoid shrugging. Think “long neck,” then engage lats and keep shoulder blades controlled. When shoulder position stays solid, waves look cleaner and your neck/upper traps don’t take over.
Use the legs to drive power
Breathe with effort
Start crisp, stay consistent
Clean, repeatable waves beat frantic flailing. If wave height collapses or posture breaks, slow the tempo or shorten the set. For movement ideas and form references, the American Council on Exercise exercise library is a helpful resource.
Workouts for Conditioning, Strength Endurance, and Finisher Days
Battle ropes can be programmed like sprints: short, intense bursts with rest for power, or longer intervals for conditioning and stamina. If you want a deeper dive into strength and conditioning concepts like work-to-rest ratios, the NSCA resource hub is a strong starting point.
Go-to workouts
Sample Battle Rope Session Plans
| Goal | Move Selection | Work/Rest | Rounds | Notes |
|---|---|---|---|---|
| General conditioning | Alternating waves | 20s / 40s | 6–10 | Step back until the rope stays under tension |
| Power output | Double-arm slams | 10–15s / 60–90s | 8–10 | Keep hips back; slam with full-body intent |
| Upper-body stamina | Outside circles | 30s / 30s | 6–8 | Smaller circles as fatigue builds |
| Core stability | Half-kneeling waves | 20s / 40s | 6–10 | Squeeze glutes; avoid leaning back |
| Finisher | Wave + slam combo | 30s / 30s | 4–6 | 10s waves, 10s slams, repeat |
Progression: How to Make It Harder Without Losing Form
Care and Storage for Longer Rope Life
Recommended Add-Ons (In Stock)
- Heavy Battle Rope with Protective Sleeve & Anchor — a durable setup for waves, slams, and pulls with added abrasion protection at the contact point.
- Calm Your Mind: Guided Meditation Series — helpful for post-training downshifts, breath control practice, and recovery days.
- Study Skills Mastery Guide (Digital) — a practical way to build a consistent routine and track training habits with simple checklists.
FAQ
Where should the protective sleeve sit on the rope?
Place it at the main friction point—most often where the rope contacts the anchor or a surface edge. If you notice wear moving to a different spot, slide the sleeve to cover the new high-friction area.
Can battle ropes build strength or only cardio?
They can build strength endurance and power, particularly in the shoulders, back, grip, and core. Short, high-effort intervals with longer rest periods bias power output, while longer sets push conditioning.
What’s a safe starting routine for beginners?
Use simple alternating waves for 20 seconds, then rest 40 seconds, for 6 rounds. Focus on bracing your core, keeping shoulders down, and making consistent wave height before adding intensity.













Leave a comment