Choosing the Best Photography Lights for Your Setup
What should you look for in a photography light?
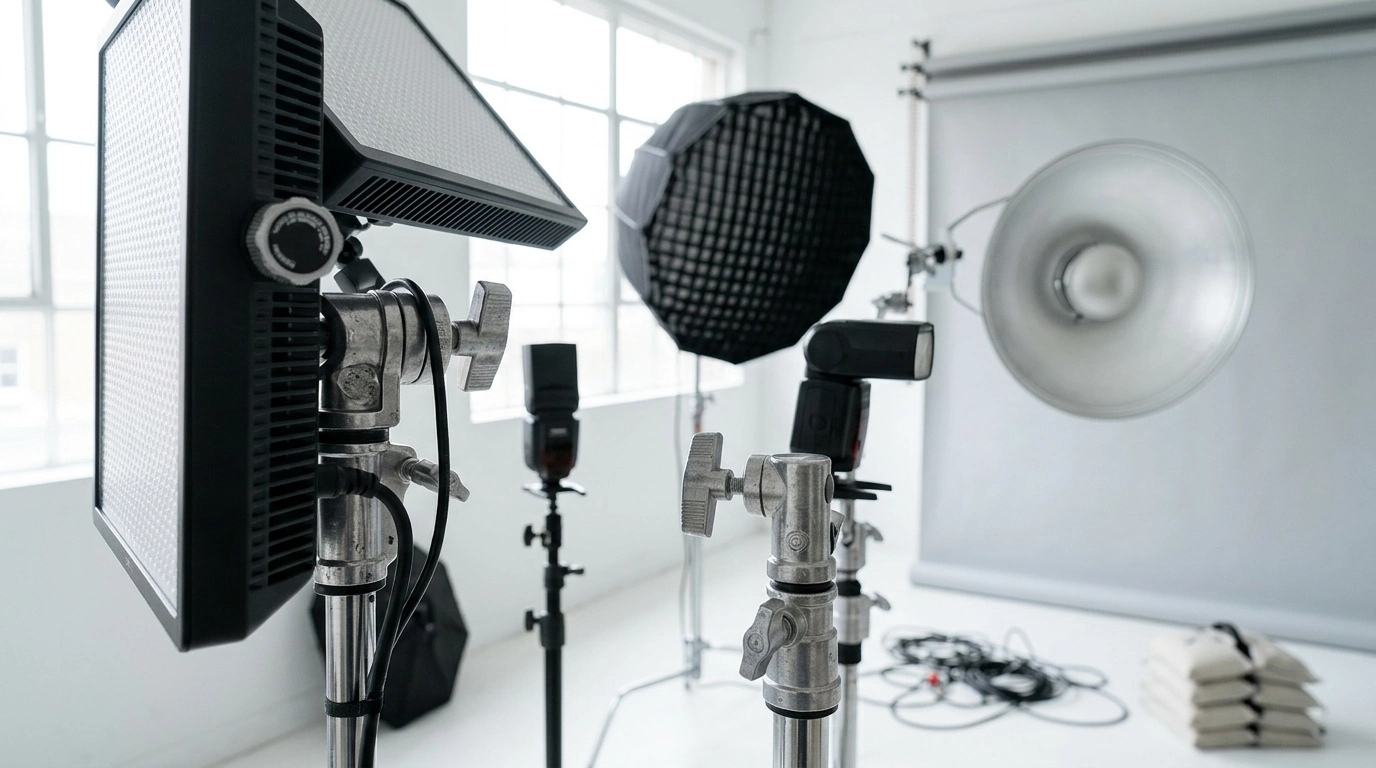
The best lighting depends on your subject and setup, but a controllable LED light is a practical starting point for many portraits, product shots, and videos. LEDs draw relatively little power, produce less heat than many traditional studio lights, and let you adjust brightness as you work. For a flexible home setup, look for dimming controls and a color temperature that suits the look you want.
How do continuous lights compare with flash?
Continuous lights stay on while you compose and shoot, so you can see how light and shadow fall before taking a picture. That makes them especially approachable for beginners, still-life work, and video. Flash provides a brief burst of light and can freeze movement, but you may need to take test shots to judge the result.
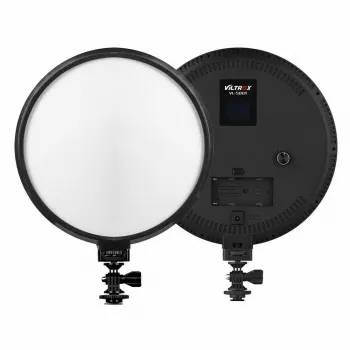
If you want an LED option for a smaller studio setup, explore our guide to the 25W LED fill light with LCD dimmable studio control. A fill light can help lift shadows when your main light creates more contrast than you want.
Which light qualities matter most?
Start with brightness you can adjust. Dimming helps you balance the light with a window, room lighting, or another lamp without constantly moving your subject. A high color-rendering index (CRI 90 or higher) is useful when accurate-looking skin tones or product colors matter. For a neutral daylight appearance, a light around 5000K to 5600K is a common choice; warmer settings can create a cozier mood.
Also consider whether the light is hard or soft. A bare light can produce crisp shadows, while a softbox, diffusion panel, or other modifier spreads the light for gentler transitions. Make sure the light and modifier suit your available space and the distance between the lamp and your subject.
What is a good starter setup?
One continuous LED and a reflector can cover many basic portrait or product needs. Place the light to one side of your subject, then use the reflector on the opposite side to bounce some light back into the shadows. If the result looks too bright or flat, lower the output or move the light farther away. Add a second light only when you have a clear purpose, such as separating a subject from the background.
FAQ
Where should you place a fill light?
Place it opposite or near the camera side of your main light so it brightens the shadows without competing with the main source. Keep its brightness lower than the key light for natural-looking contrast.








Leave a comment