Build a Simple Wooden Puzzle: A Beginner’s Guide
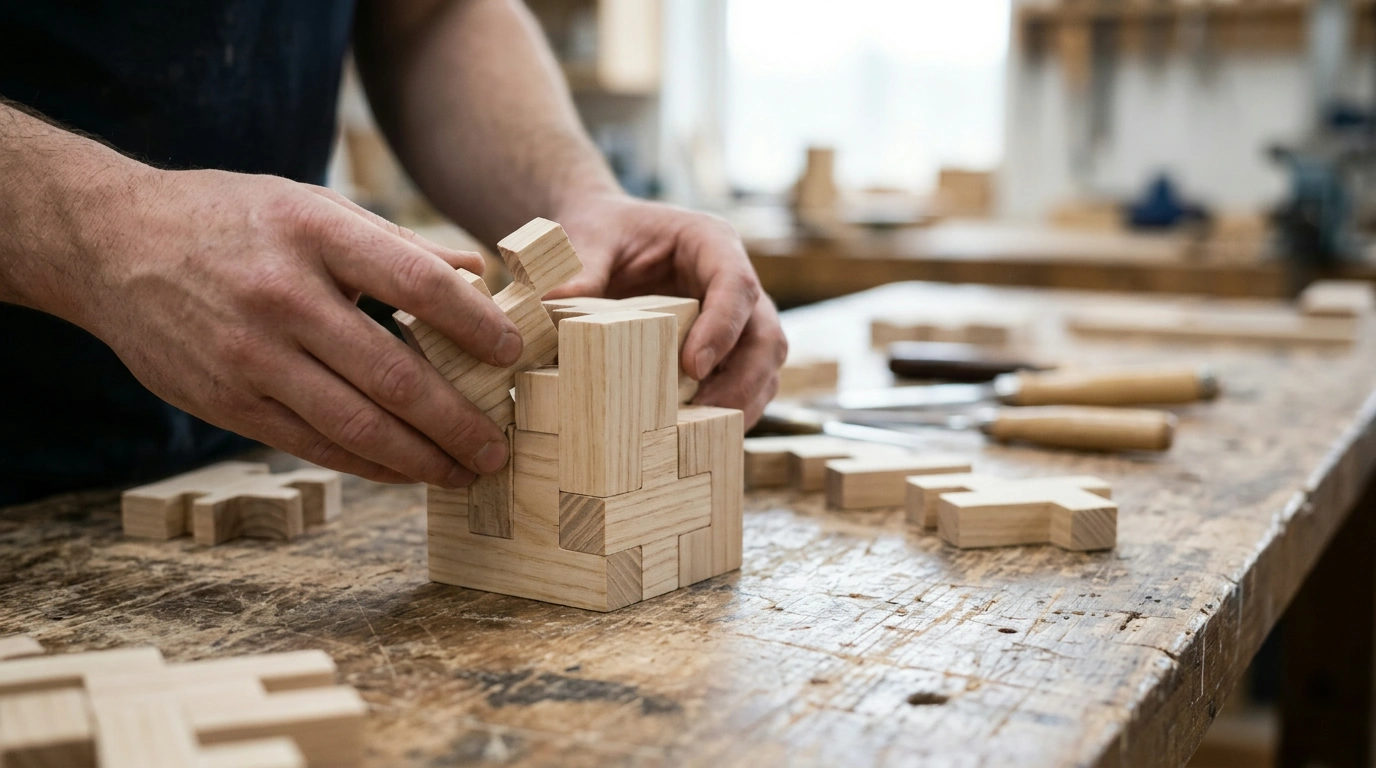
How to Make a Simple Wooden Puzzle
A small wooden shape puzzle is a manageable first project: cut a few pieces from a thin board, smooth the edges, and make a matching base. You’ll need a piece of unfinished wood, a pencil, a ruler, a saw, sandpaper, and wood glue. Wear safety glasses, and ask an experienced adult to handle power tools or supervise cutting.
Choose a design and prepare the wood
Start with a simple design, such as a square board with three or four geometric pieces. Draw the outline on paper first, making sure each piece is large enough to grip comfortably. Transfer the design to wood about ¼ to ½ inch thick. For a basic inset puzzle, use one board for the puzzle pieces and a second, slightly larger board as the base.
Cut the pieces and matching openings
Cut around the outside of each shape with a coping saw or scroll saw, following the marked lines slowly. Keep the wood flat and your hands clear of the blade. If you’re making an inset puzzle, use the cut pieces as guides to mark matching openings in the base, then carefully cut inside those outlines. Leave a little clearance so the pieces can be lifted out without wedging.
Sand, test, and assemble
Sand every edge and surface with medium-grit sandpaper, then finish with fine-grit paper. Remove splinters and soften sharp corners. Place each piece in its opening and sand the sides a little more if it doesn’t fit easily. For a frame, glue thin strips around the base board, keeping glue away from the openings. Let the glue dry fully according to its label, then test the pieces again.
Add a finish and check the puzzle
You can leave the wood natural or use a finish labeled for the intended use. Follow the product directions and allow it to cure completely before handling. Check that all pieces are sturdy, smooth, and free of loose splinters. If the puzzle is for a young child, avoid small pieces and use materials appropriate for that age group.
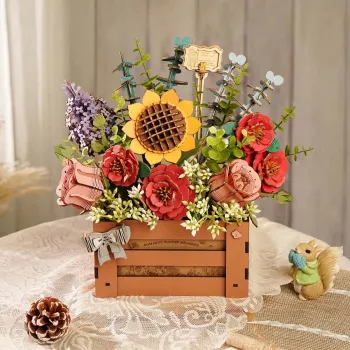
For a more decorative project, see the DIY wooden bloom box 3D puzzle kit guide.
FAQ
What finish is suitable for a wooden puzzle?
Choose an unfinished surface or a finish labeled for the puzzle’s intended use. Follow the manufacturer’s directions and let the finish cure completely before using the puzzle.













Leave a comment